
Sam Hallas' Website
This is the seventh and final part of the 'Let's Take a Telephone to Bits' project where I dismantle a telephone to show its construction and make my own comments on the design and choice of materials. Click on the photos for a larger image.
The main article is about the Telephone No 746. It leads on into Telephone No 740, which provides for up to four press-buttons and Telephone No 741 the wall-mounted version.
[Click the small images for a pop-up larger version]
Introduced in 1967, Telephone 746 was a cost-reduced and somewhat improved modification of Telephone No 706. The case has a similar aesthetic design and the electrical circuit is identical. Items which are unchanged include the Handset No 3 and the self-coloured cordage and terminal block. As I take the phone apart I'll name the changed items and try to decide whether the change is a design improvement or for lower cost. Tele 746 was available in the same range of colours as Tele 706, black, blue, two-tone green, two-tone grey, ivory, red and yellow.


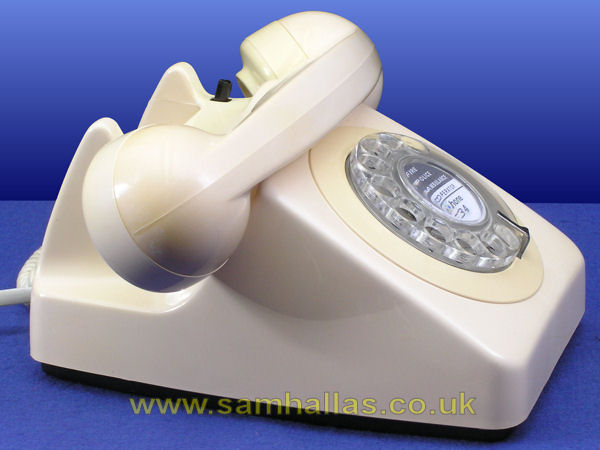
A significant change in case design is the handset rest area, which has a slope from the ridge at the front to the raised shoulder at the back. This was probably an aesthetic design decision but it was found that the smooth slope allowed the handset to slide forwards leaving the telephone off-hook. Later cases in the 1970s were modified like the ivory model in Fig 2, left, with a groove to retain the handset.
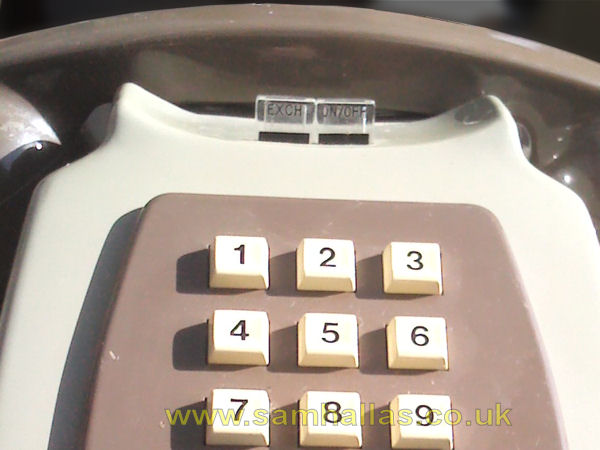
The blanking plate and push button are smoother in design in keeping with the overall feel of the new case. In fact it's possible to fit two, half-width push buttons in the space provided, though this was pretty rare - I've never seen them, but fortunately THG member, Norman Josling has sent a picture of a phone in his collection with half-width buttons. (Fig 2a right) (Although this is a push button model, the case moulding is identical but uses a diffferent surround to accommodate the number pad.)
By having the numbers on the dial itself, the surrounding escutcheon can be solid self-coloured ABS. The escutcheon on the original Tele 706 was clear with the numbers/ letters and coloured background printed on the reverse where they tended to get scratched off. Early models of the 746 had the same design for a very short period.
A novel feature is the ability to rest the handset above the dial keeping the telephone off-hook allowing the user, say, to move away to find someone or to open a book. (Fig 3)
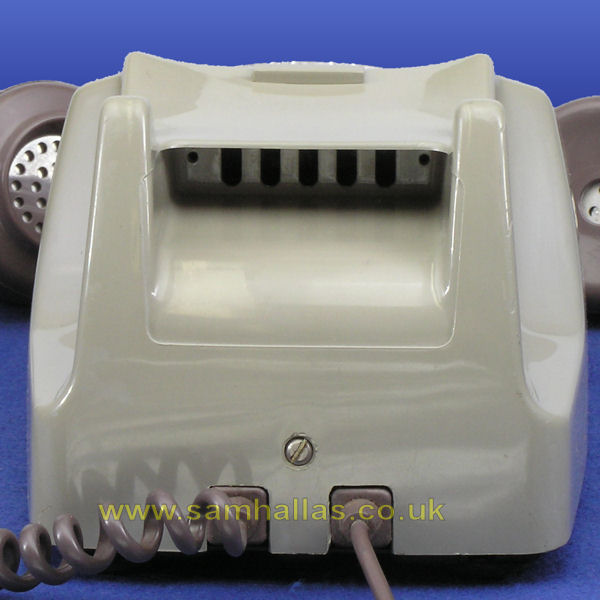
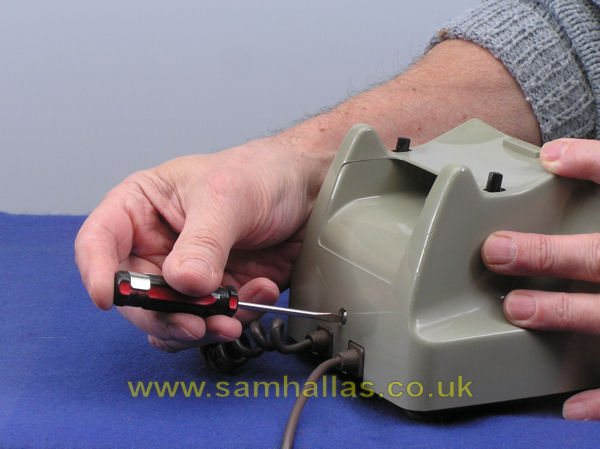
Viewed from the back two more changes can be seen (Fig 4 left). A carry handle has been moulded under the cradle rest - a definite improvement on the makeshift plastic handles supplied for the 706 which tended to break. Secondly the cover is fixed by a single, sprung captive screw. Loosen the screw until it springs out (Fig 5 below left). Lift the case up and forward over the dial. I find it best to hold the telephone body down by pressing into the dial holes with the fingers of one hand whilst lifting the cover with the other. (Fig 6 below right)

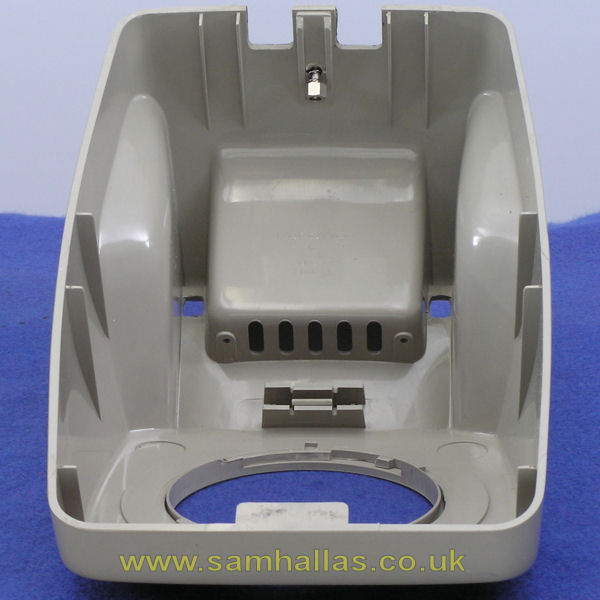
Looking at the underside of the cover (Fig 7 left) you can see the ridges in the moulding which provide additional stiffness. This allows the whole moulding to be thinner, reducing both the cost and the weight. The tongue at the front is quite large to support the weight of the telephone when it is being carried by the handle. The captive screw with its nut and spring can be seen at the back. Note that the spring goes under the screw head and should be outside the case to make the screw pop out when released.
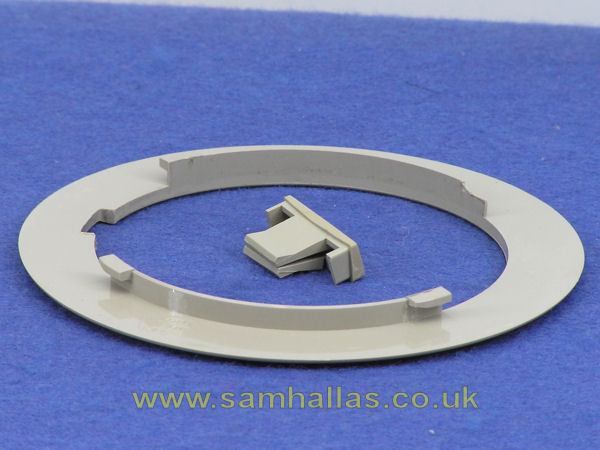
The button hole blanking plate can be removed by gently squeezing and pushing out. The dial escutcheon can be released by twisting slightly until the lugs line up with the slots in the case. The slots in the carry handle recess allow sound out from the bell as well as ventilating the case. The holes either side are for fixing accessories such as the watch receiver bracket (see below).
On the next page we'll look inside the case....
 Project index
Next
Project index
Next